Living Dead Girl


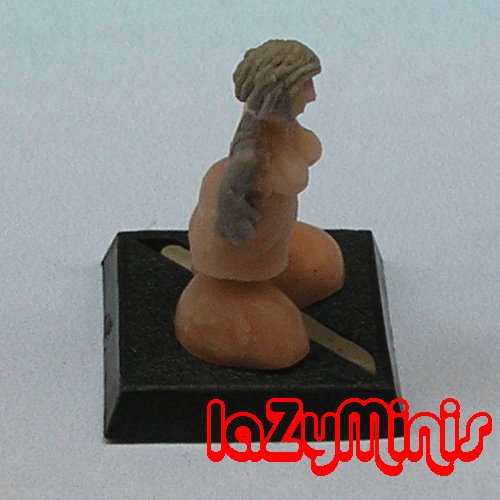
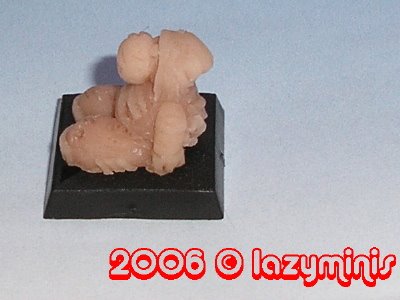
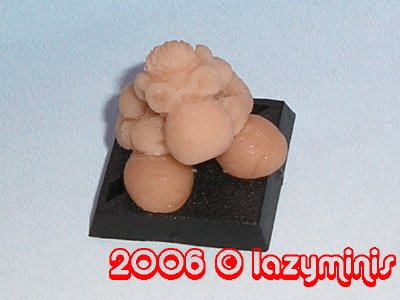
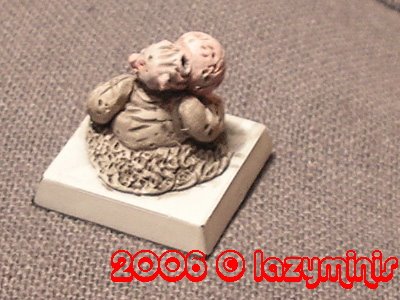
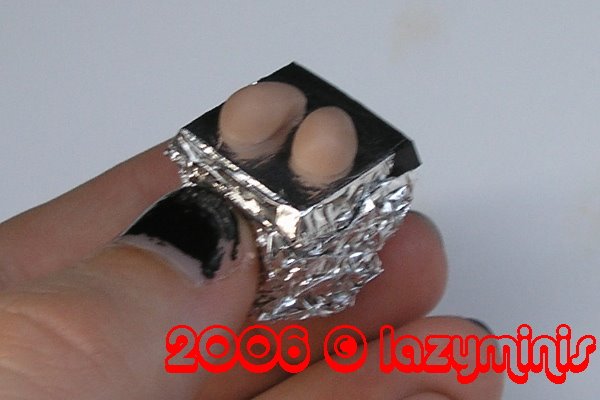
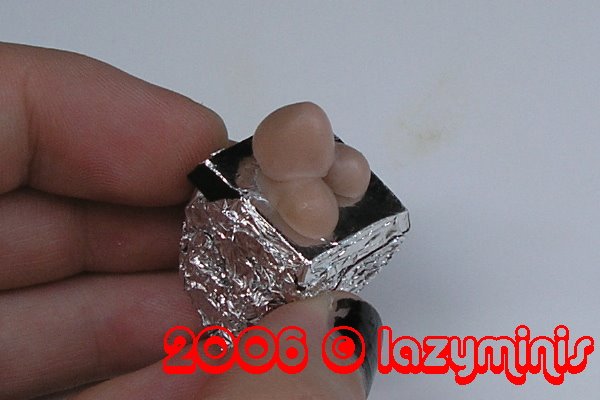
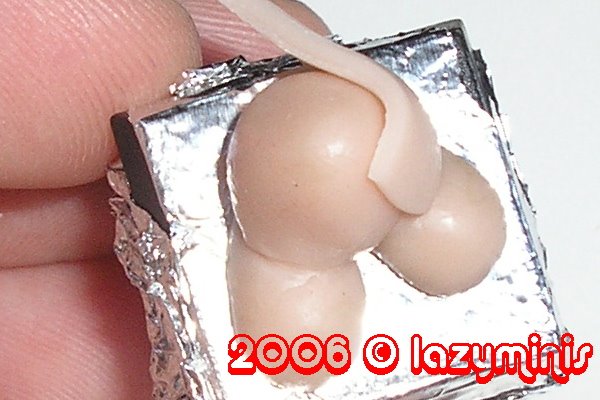
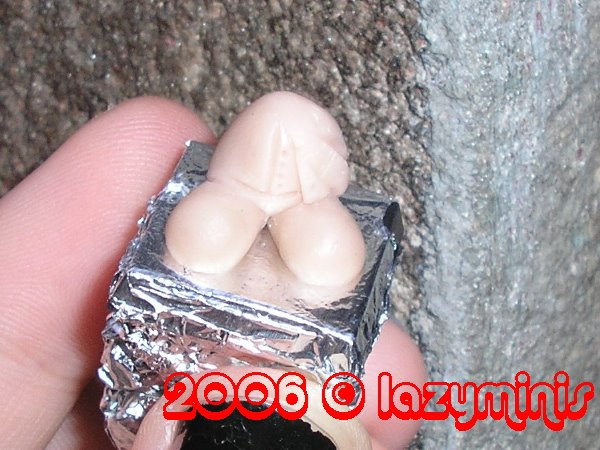
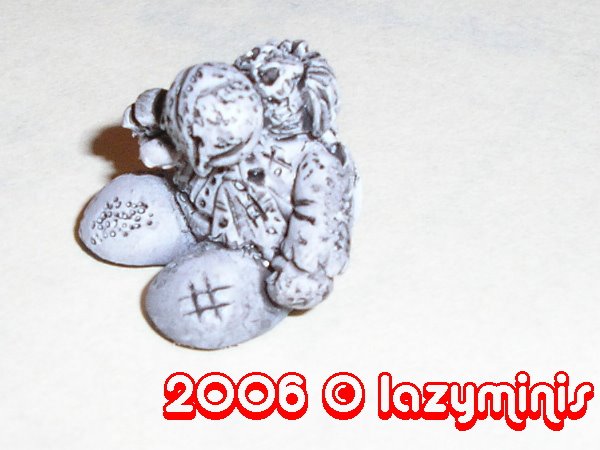
La miniatura de la semana, espero que os guste Mila la zombi. Cualquiera que trate de emular (sin éxito) a un personaje como Ada Wong merece la muerte... pero si encima consigue mancillar el nombre de Resident Evil, entonces merece algo peor; la no muerte (y si por mi fuera, algo peor).

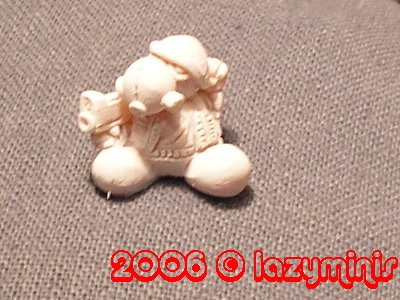
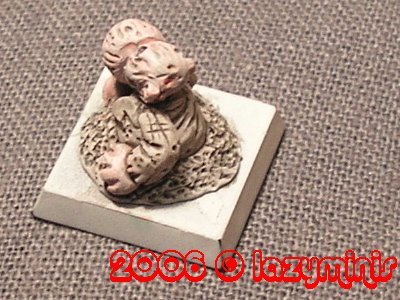
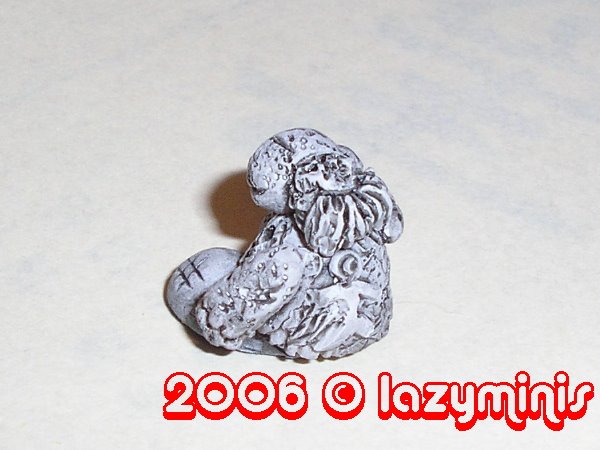
Lo siento Mila, por ahi diran que estas muy buena, pero en mi mundo a los que estan tan buenos... se los comen con patatas!

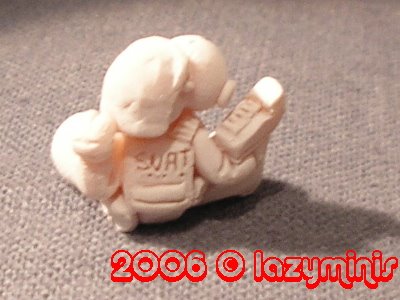
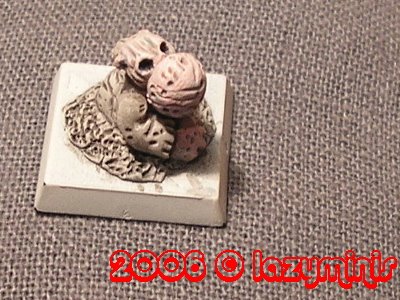
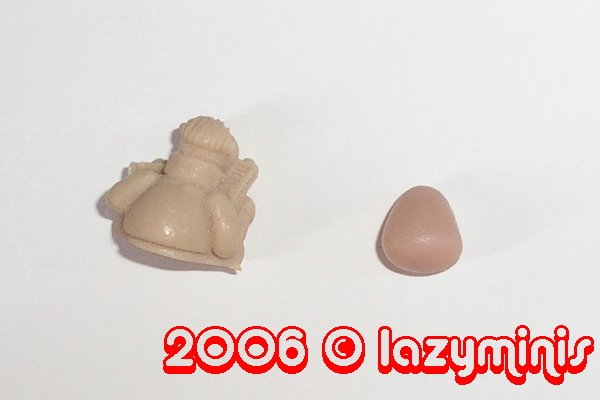
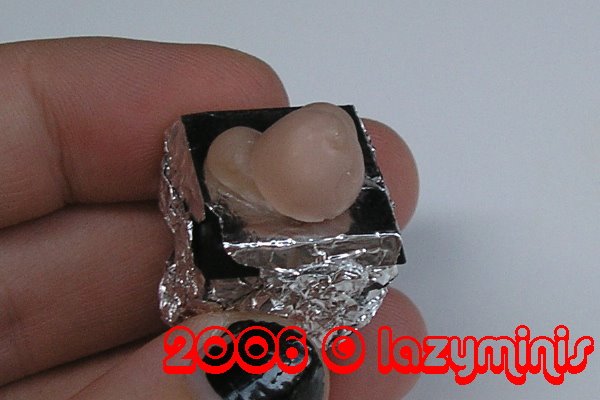
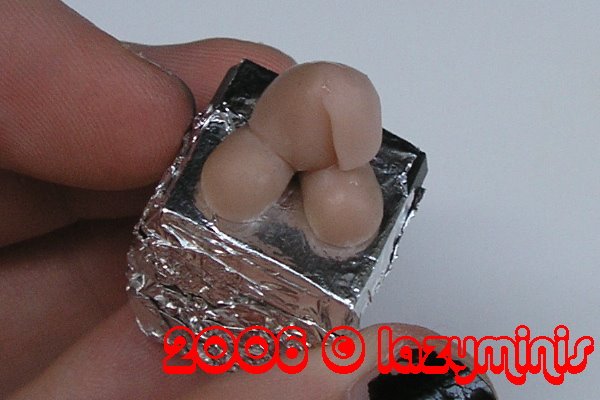
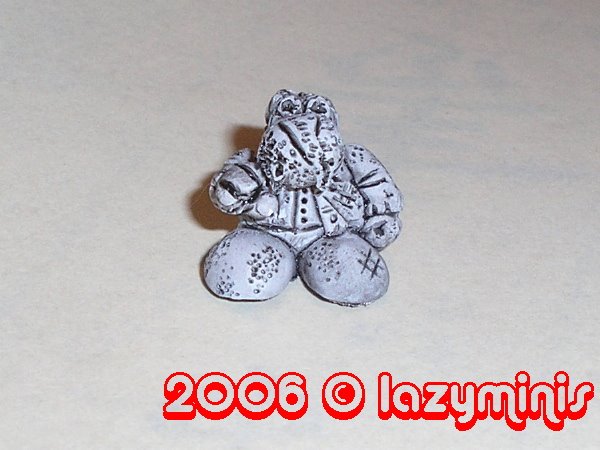
Por la cara y el pelo me recuerda a Patty de las tiras comicas de Snoopy.


.:. laZyMinis .:.


This week's mini, Undead Mila. Anyone trying to emulate Ada Wong deseveres to be dead, actually in a really gross way, but anyone tainting the Resident Evil name deseveres something worse, to be undead! (I would suggest something worse if you ask me)

Sorry Mila, you might be hot but on my mind you can go to hell. Couldn't think something funnier for the lead character that to be dead.

Mini's face and hair reminds me Patty's from Snoopy.
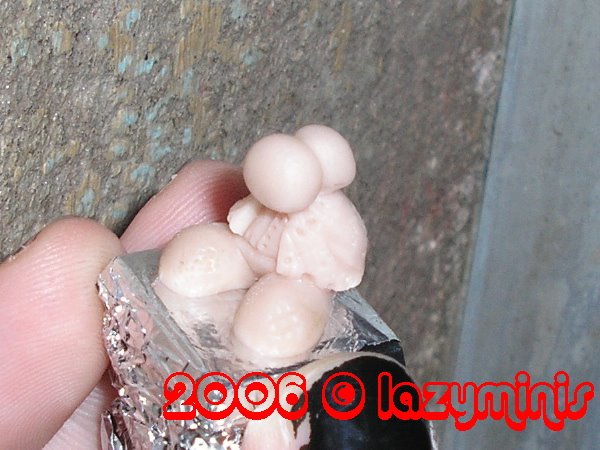
Braaaaains...

Land of the alive and kicking

Z
Z

Z
Z

No se que coño pasa, pero ultimamente mi nivel de produccion ha aumentado mas de un 100%, supongo que estoy hecho un machote ! Ademas los resultados recuerdan a las minis de Farsa's wagon, tal como se vendian :)


En fin, lo primero es un mini-YO. Una mini que me representa a mi, esculpida por mi señora que todo sea dicho, es lo primero que esculpe. Graciosa es la mini.

La hizo mientras yome sacaba de la manga un zombie de relleno, de esos que estan ahi para hacer bulto entre la masa. Lo considero un experimento por que probe varias cosas nuevas para mi: el jersey tiene bolsillos delanteros y capuch, puesta ademas. Parece tonteria pero es complicado hacer que parezca la capucha de un "chandal" en lugar de el tipico atuendo de un sectario.
Como es un zombie ex-niño gamberro aka skater, va con adidos (detallar tanto el calzado tambien fue un experimento) a juego con el chandal. El boquete sobre blando, conocido tambien como herida de bala tambien fue novedad para mi.
Las proximas minis seran mas inspiradas. Bon apetit.

.:. laZyMinis.:.

Hi there,

Dunno why but I've increased my mini sculpting production in ovr a 100% maybe I shall be producing my own line along with a geek wargame ruleser with a humor twist to it.

The first mini is a mini-ME, portrayed by mi sidekick ANG. We love so much eachother that it almost makes me puke everything I realize. It's her fisrt mini and it came out really cute.


She did it while I was sculpting the zombie skater. This was a simple one, an experiment in fact. Detailing feet (being cartoon-wise minis you cant go for ultra detail so easily so I had to watch my step too often). Its gear didn't turn out that bad, but I wish I did better. I'll keep strying skater guys since it works fine for me. I'm out.


2x1 Las rebajas ya estan aqui!


Record histórico en mi "carrera" amateur como escultor; 2x1. Probando nuevas tecnicas y materiales para modelar... acabe media miniatura en cosa de hora y media! Sin bocetos previos ni nada, llegar y moler.

Trasteé un poco mas con los nuevos materiales (sabado 01/07/2006) y deje el asunto para el dia siguiente. Tras rematar la faena (cabeza, ultimos detalles...) el domingo tenia entre manos una dura decisión; tenía que probar la nueva masilla bajo diversas condiciones de alta presión / temperatura (la vida de una mini original es muy dura... vulcanizadores, hornos... :)
Como podria arriesgarme a truncar tan magna obra, el S.U.A.T. (jajajaja trabajan duro estos chicos si señor, de ahi esas ronchas en el uniforme) Bien, decidi hacer una bola-prueba. Si la bola arde o se deshace no llorare como si le hubiera pasado a la mini.

El caso es que la bola-prueba debia tener algo de fora y textura, para recrear mas detalladamente que es lo que le iba a suceder a mi mini. Pim Pam Pim Pam... sin querer en cosa de media hora, tres cuartos la bola-prueba se habia metamorfoseado en un zombie prueba.
2 minis en un fin de semana... ademas, estoy orguyoso de la escala; son menos grandes que las ultimas.

.:. laZy Minis .:.

Well, for the first time on my amateur sculptor life I achieved 2 minis in 2 days, working on them about 3 hours each. In fact ye zombie started as a putty ball for baking test purposes and turned out a zombie after about half an hour.

Medium used was Super Sculpey and a bit of premo mixed by acciden in the zombie's body. I wanted to test baking time and temp. since didn't want to ruin my S.W.E.A.T operative (those guys work hard to defuse stuff at de.dust ) wich also materialized quickly and it was my first try with sculpey :)

Step by Step

Bueno, en vistas de que esto es "necesario" en lugar de psotponer el largo tutorial sobre mi penultima hornada ( moonwalker ) hoy martes 04 de julio me he puesto en el balconcillo a hacer una exhibicion (no tenia la camiseta puesta) de como hacer una mini en apenas 2 horas. Pasen y vean:

I'll be quick on this subjuct since I mde it just for this article and took me 2 hours to complete the mini on sculpey premo and super sculpey, so I could hold on the work to take pics at any time. Ladies and gentlemen...


1.- Simple; haz una bola de masilla y aplica presion con un dedo sobre un extremo, girar el dedo para que la masilla ruede. Obtendras un piñon o forma ovaloide. Dejalo unos 10 o 15 minutos hasta que adquiera una consistencia mas gomosa y menos "destruible" por tu mano.

1.-Knead some putty, make a ball of it and then roll your finger over one of its extremes; you'll obtain an egg shaped thing like the one in the pic. Let it cure for 15 minutes so it's more rubbery and less likely to be splatted due the pressure of your piggy fingers.


2. & 3.- Con una cuchilla afilada, parte en dos la pieza antes creada. Ya tienes los pies! colocalos en la posicion deseada sobre una peana o algo que te sirva para sujeccion sin tener que aguantar la mini con tus manos. Presiona cuidadosamente el extremo mas fino para asentar una base sobre la que poner el torso.

2. & 3.- Split the piece in two halves; you got the feet genius! place them on the desired position over a base that will help you holding the mini without ruining it. Press lightly the smaller tip of the feet so the body will fit on its place.


4. 5. & 6.- Otra bola del tamaño del cuerpo para la miniatura, colocar sobre los pies y dejar curar (secar) la masilla completamente antes de proseguir. Acercando unos minutos la mini a una lampara de escritorio conseguiras que el calor acelere el endurecimiento d ela masilla. Luego quema, cuidado!

4. 5. & 6.- Make another ball out of putty and place it over the feet. That will be the body. Let the putty cure or just get it close to a light bulb so the process will speed up to minutes instead of hours. Take care cause it ends really hot at this point.


7. 8. 9. & 10.- Las juntas son nuestro enemigo! prepara un fideo de masilla, colocalo sobre la junta y acompañalo con tu herramienta (un alfiles bastara) bien lubricada.

7. 8. 9. & 10.- Gaps are to be avoided at any price in any sculpt and scale. Prepare some putty as seen in the pic and fill the gaps. Smooth it with your tool well lubricated. I actually used a pin here.


11.- Sobre aluminio o una lamina de plastico (cualquier superficie antiadherente y bien lubricada) coloca una bola de masilla. Aplanala con cualquier tipo de cilindro (un lapiz).


11.- Use any non adherent surface and keep it lubricated. Now flatten some putty.


12. 13. 14. 15. & 16.- Corta la pieza de ropa, capa o cualquier detalle que necesites, en este caso sera la chaqueta, y colocalo sobre la miniatura. Apreta un poco la lamina contra la miniatura, el lado en contacto con el aluminio es el lado que debe estar a la vista, asi no tendra huellas. Con tu arma bien ubricada, arrastra los bordes de la lamina hacia otras partes de la miniatura para integrarla. Seria el equivalente a difuminar pintura.

12. 13. 14. 15. & 16.- Cut a piece that will represent clothing, put on the desired place, take out any excesses, bend the edges pressing and stretching them to the actual mini and gently smooth the surface rubbing your wet tool over it.


17. 18. 19 20. 21. 22. & 23.- Formas y detalles: aplica presion con un mondadientes o algo similar, para crear las arrugas. Como nuestra creacion es andrajosa colocaremos varios agujeros y trazaremos lineas haciendo cortes, que representaran suciedad al estilo cartoon. Podeis poner un poco de masilla sobre el pecho, alisar hasta que sea muy fina, y con un alfiler marcar la camisa con sus botones. Dejad que la masilla endurezca.

17. 18. 19 20. 21. 22. & 23.- Shape and detailing: I used a toothpick to pull in and out the cloths shape. Then I added holes and cuts. You can add now a bit of putty to its belly and with a pin do the shirt detailing. Let it cure untill its hard. It's like saving a file.


24. to end- Haz dos bolas de masilla y unelas. Son la cabeza y la nariz. Añadelas al torso y dejalo secar. Luego sobre esa base solida añade masilla para ir creando texturas, pelo... Para referencia echadle un vistazo a las fotos. Si necesitais saber como se hizo algo muy concreto, preguntad y respondere encantado. Siento que sea todo tan acelerado, pero la miniatura han sido 2 horas, redactar el articulo 1 y algo, revisando las fotografias. Queda retocar las fotografias y etc... y necesito dormir. (me dan las 4 de la madrugada subiendo archvos)

Espero que os haya gustado y os lo paseis biene sculpiendo vuestras propias figuras. No esta mal el Zombie 03 para estar terminado en un par de horas. EEEH, su espalda... Gamberos!

24.- Core shape, smooth, cure, add putty, detail, cure and REPEAT. Yeah I'm lazy as hell. After all the mini took me 2 hours, the writting about and hour and a half and then preparing the pics to be browser-friendly. I will be happy to answer any questions on any specific step.

I hope you enjoyed my Zombie 03, it came out quick and funny. Look at his back, you punks!


.:. laZy Minis .:.